How to Compress Your Images for Free Without a Plugin
As someone who manages a lot of blogs and has been blogging for nearly 11 years, I get a lot of questions. I certainly don’t mind answering them, so I figured I would take some time to do it today.
One issue I see when doing a site audit is images being too big. Not only am I talking about size (height and width), but also file size. When you run a blog on WordPress, you typically host your images in your media library. There is no problem with that as that’s how it’s designed.
Are Your Images Too Big?
The problem comes in when you host huge images. I have seen people take images from their cameras and dump them into their media library. These images can be upwards of 3,000 pixels wide and are just massive. Most themes don’t use images that large (or any themes), so you should never put them up there like that.
One reason you should reduce the size is because it takes a lot of resource to load that image when a page is loading. The longer load times can cause people to leave your site. You may only see the image fitting perfectly on your page, but in actuality, it’s just being resized by HTML. The server still has to load that full image.
These larger images also cause you to reach your hosting disk space limit quicker. A huge file from a camera can be upwards of 10 to 15 megabytes. That’s large. You really shouldn’t upload anything that is over 100kB.
In the spirit of helping others succeed, I’m going to show you how to both resize your images and then compress them before you upload them into WordPress. I’m going to do this all without a plugin.
While plugins are great, the more you add to your site, the longer it takes your site to load. Image compression plugins are resource intensive as well, so make sure to try out these methods below before jumping into a plugin.
How to Resize Your Images Online
While I have a few programs to resize my images, I find online resources really easy. I do have a free program called GIMP installed on my computer. I would recommend this program to anyone. You can download it here.
Since this program is not online, I want to share with you how to use the site called PicMonkey. Weird name, but you can use it for free, so why not! As someone who lives online, I need to be able to do a lot of work with online resources. I might not be near my computer to use GIMP, but as long as I have a computer somewhere, I can use PicMonkey. Here’s how to resize your images using their free service.
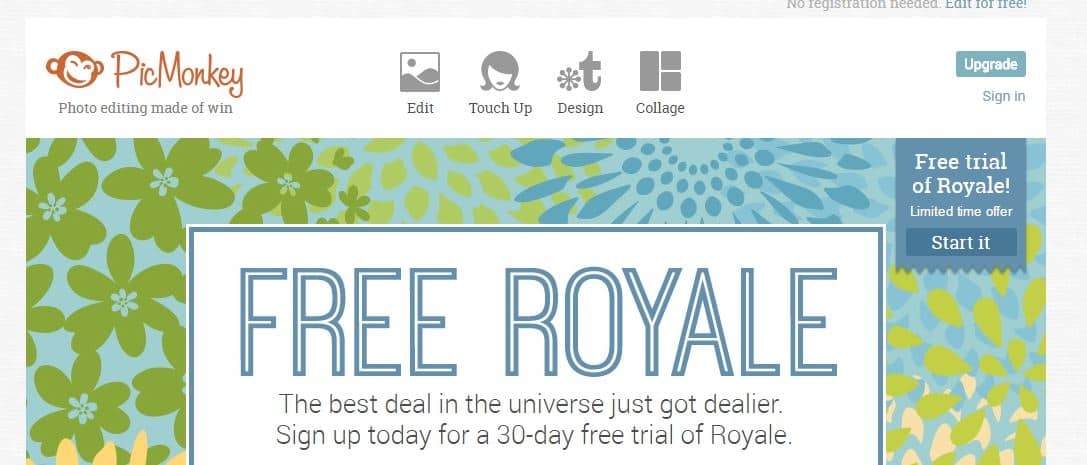
- Head over to PicMonkey.com
- Click on the Edit button
- Choose the image you want to resize
- Click on the Resize option under Basic Edits
- Put in new size width (leave “Keep Proportions” checked). If you do this, then you only need to put width in and it will adjust height accordingly. Click Apply.
- Click Save. Then pick a new file name and use the “Pierce” Quality setting.
And that’s it my friends. You just resized your images. Now, a good rule of thumb is to figure out how large an image you need. Since we use social media a lot these days, we need images big enough to look good when we share our work. Take a look at your theme and find out if you need to make images wide or tall. This will depend on your theme set up. My themes use wide images, so I typically go with images at 1000 pixels wide.
How to Compress Your Images Online
Now that you’ve resized your images, now you should compress them. This reduces the file size to ensure you’re not uploading huge files onto your server. The more of these you load, the worse your site speed is going to get.
As noted, I try not to upload anything over 100kb, but that’s not always possible depending on the image. What you should do it make sure you compress them. To do this, I use the free service called TinyPNG.
TinyPNG works on both .png and .jpg images. They also have a service called TinyJPG, which does the same thing. They used to just run one file extension for each site, but they have combined the services. What these won’t do is .gif files, but those are generally quite small to begin with.
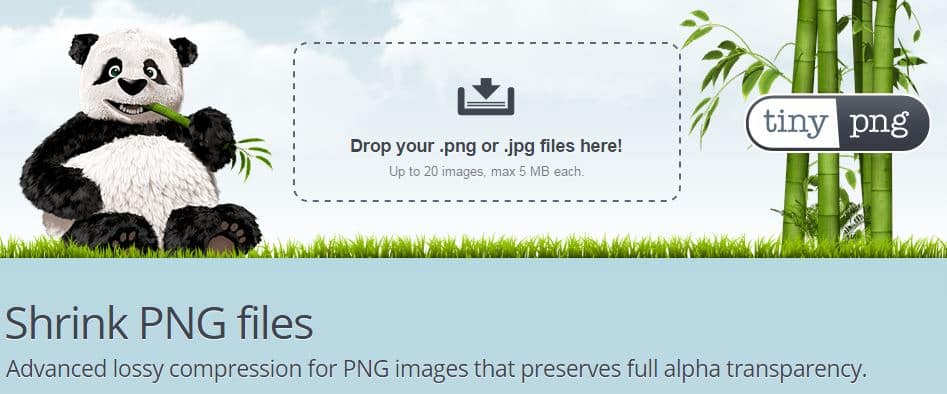
All you need to do is take the image you just resized on PicMonkey and drag it into the little dotted box on the TinyPNG homepage. It will then compress the images and give you a download link. Just download the new image (fully compressed) and change the file name. They download with the same name, so there will probably be a (1) added to the file name on Windows.
Once you do this, you can go into WordPress and upload the image regularly.
Why Would I Do This?
You’re probably asking yourself why you would do this? Why not just use a plugin? Well, once you do this a few times, you can get quick fast with it. I can resize and compress and image in about 30 seconds. This added time is well worth it for me to keep my site fast and to keep my plugins limited. I don’t need to add this functionality to my site when I can use free resources online.
If you really want to resist doing this manually, you can download the TinyPNG plugin for WordPress. It uses the same service. It only allows for 500 compressions per month before they charge you. I’ve found it does a much better job than the EWWW Image Optimizer or WP Smush. It’s your choice, but I recommend going plugin free!
There you have it my friends. Now you can resize and compress your images online with free services. If you have any questions, please contact me and we’d be happy to help.

